
A Supervisor’s Perspective
It started with a bet.
Zimo had been watching too many YouTube videos.
I was trying to teach him a lesson: “It’s easy when you just watch, totally different when you actually do it.”
So I made a 1:100 bet with him. If he could make a Rubik’s cube (because he had been watching a lot of “how to make a Rubik’s cube” videos that day), I would give him 10k CNY. If he couldn’t, he would lose 100 CNY.
The deadline was the end of the month, which gave him almost three weeks to work on it.
Excitement at the beginning
That night he was extremely excited, feeling the money was already at his fingertips because he thought this would be an easy win.
But I didn’t think so. I knew one of his friends in class could solve cubes quite well, but he himself didn’t know how to solve one. And I knew the structure of a cube is quite elegant—he would need real skills to actually make one.
I knew he could use Fusion 360 to some degree, but his skill wasn’t polished. So I felt the odds were in my favor.
1st version and disappointment
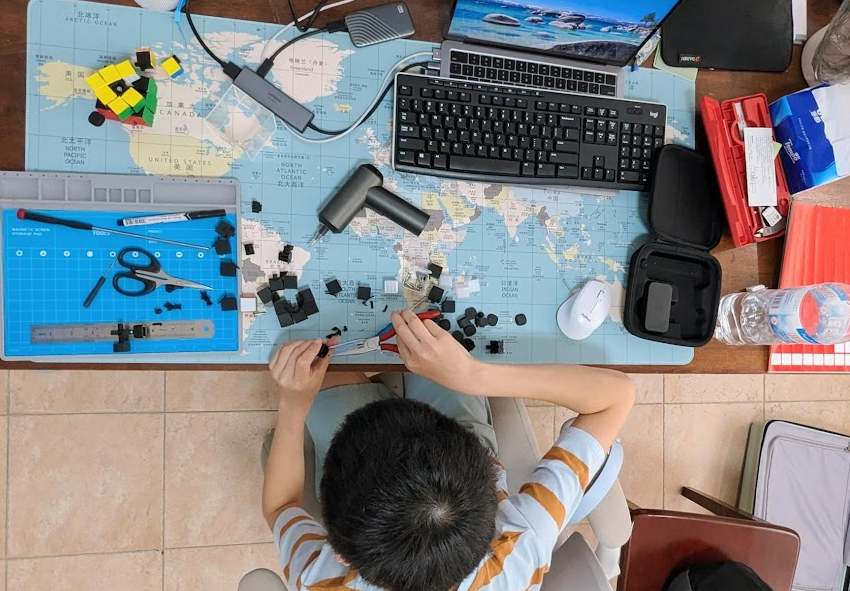
The next day, while he was printing some parts, he asked me to order 200 magnets. I was confused and asked what they were for. He explained that he wanted to make a kind of cube constructed from small cubes held together by many small magnets.
In my opinion, that wasn’t the bet. We were betting on making a Rubik’s cube, and if it wasn’t going to be a conventional one, we should have clarified that from the start.
I told him, “If you’re going to win, win with a margin, and win the respect of your opponent.”
Silence for the rest of the night.
Back to the conventional
By the following morning, we agreed that he should make a conventional one—the kind that people would look at and immediately recognize as a Rubik’s cube, without asking what it was or how it worked.
A normal cube as a template
We actually had a cheap cube on our shelf. He and his mom bought it in Changsha as a souvenir. It was inexpensive, with an advertisement for Changsha printed on it. But at least it was a real cube—you didn’t have to convince anyone of that.
It had the standard structure: a central mechanism that holds six center pieces as the main frame, plus eight corner pieces and twelve edge pieces.
He studied the the standard structure and began making his own prototypes using Fusion 360.
Replacing piece by piece
Prototyping from scratch is hard. After study the reference cube more closely, he decided to make replacement parts and swap them in piece by piece until the entire cube was homemade.
He started with the central mechanism, gradually adding the center pieces, and later the rest of the assembly.
The lure of fun videos
He really loves watching videos. I reminded him the deadline wasn’t far away, but he kept getting pulled into entertaining videos—especially when the 3D printer was working. He would just wait and watch.
Difference in materials
He assumed everything could be printed, including metal parts. Of course, that wasn’t the case. The printed bar was brittle and broke easily.
So he ordered screws online using my phone. But he wasn’t careful with the measurements, and the screws wouldn’t arrive for a week. (And when they finally did, he would discover that they were be slightly bigger than the holes in the existing main frame.)
Luckily, the cheap cube already had screws and springs. So he could still work on the rest of the cube while waiting.
(And he didn’t order springs. Oops.)
Playing a cube
When the bet started, I ordered a regular Rubik’s cube online—a decent one for beginners.
It arrived with a tutorial. He began practicing, learning how to solve a cube using the formulas in the tutorial.

He got so into it that he told me, “I was solving the cube even in my dreams.”
I said, “I want you to remember that feeling.” Psychologists call this being in flow.
Within two days he learned to solve a cube in under two minutes on average, which was amazing.
But I reminded him: don’t forget the bet—he was still working on the project.
2nd version, needs improvement
He continued modeling the pieces in Fusion 360, one by one.
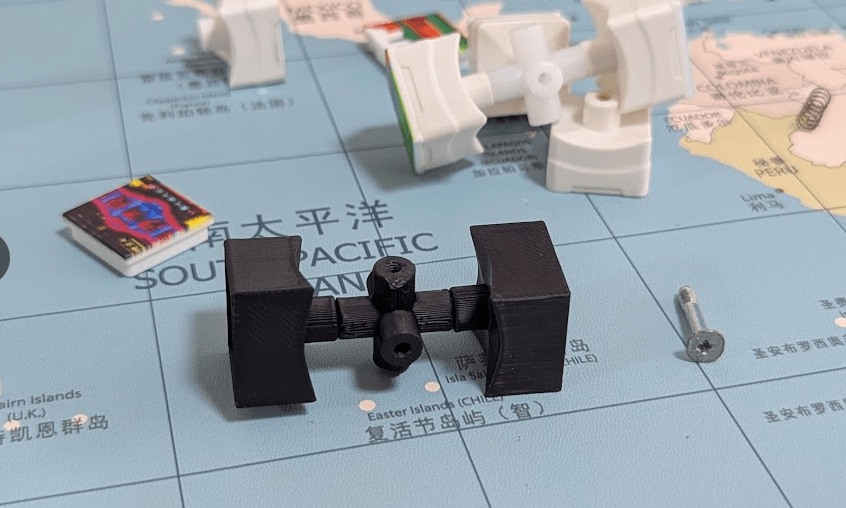
He assembled the 2nd version, and now it looked like a Rubik’s cube. Only the screws and springs weren’t authentic.

However, the 2nd version barely turned. Because he didn’t fully understand the symmetry and his measurements were imprecise, the pieces bumped into each other when turning. You needed to pull it apart slightly to rotate, and rely on the spring to pull it back.
I saw many trials and errors. I told him to line up the pieces in chronological order so he could see his progress (and also maybe see the wastefulness—in both printing time and material).

Simulation before printing
I suggested using the assembly tools in Fusion 360 to make it work in simulation first, then print.

He learned how to use section inspection to see what didn’t fit inside the structure.
So when he rotated the pieces in simulation, he could see which parts collided.
Appearance, lingering on the 2nd version
The stickers from China arrived, and he made the 2nd version look nicer.
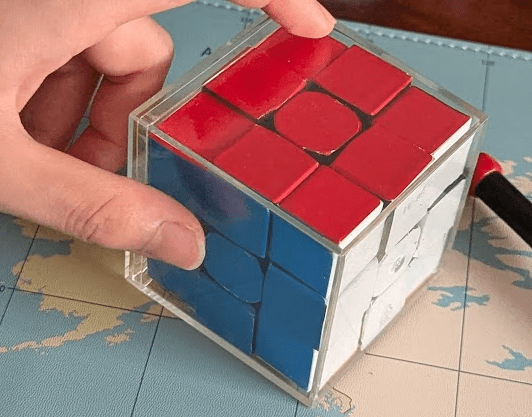
But he lingered too long on it. Maybe the project had worn him down. He was very reluctant to start from scratch for another version.
He kept trying to modify the 2nd version, but made little progress.
A solution: subtraction, not addition
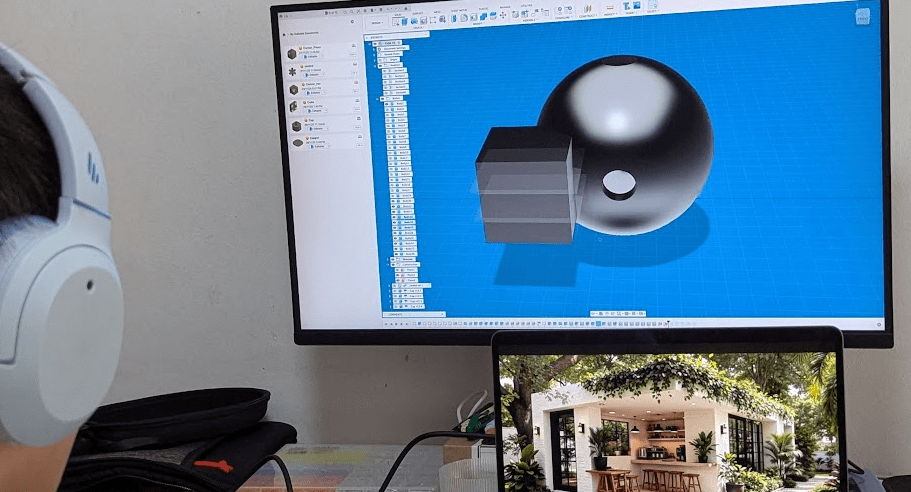
I was worried for him too, so I thought about it. One morning I came up with an idea: instead of adding pieces one by one, why not start with a solid cube and a concentric hollow sphere, and cut them into pieces so they would necessarily fit?
He didn’t want to start over at first. But after letting the idea sink in for a day, he started experimenting.
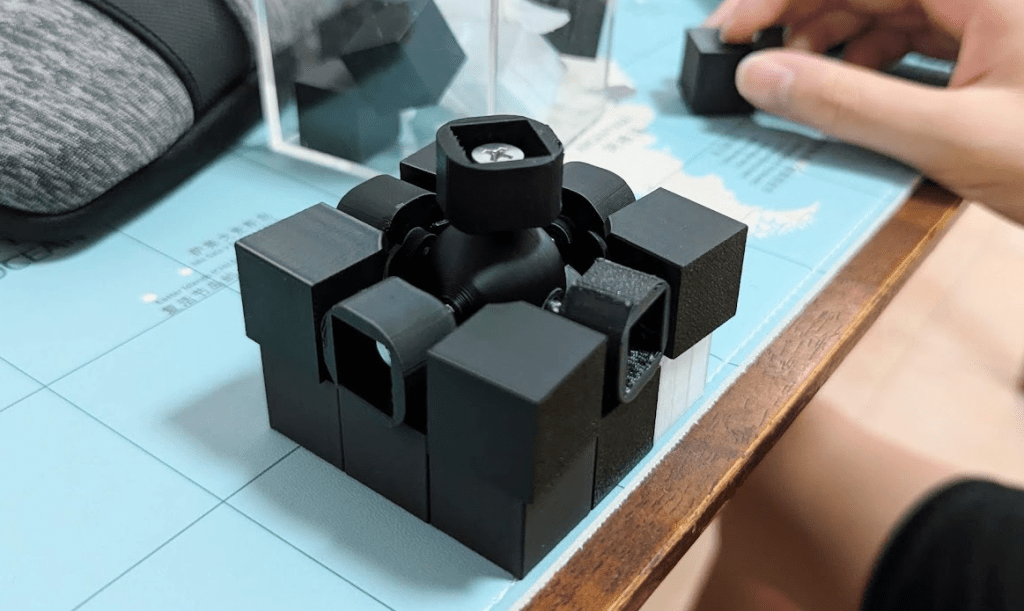
With the new screws arriving (with different dimensions from the old ones), he began working on the 3rd version.
3rd version, and the deadline
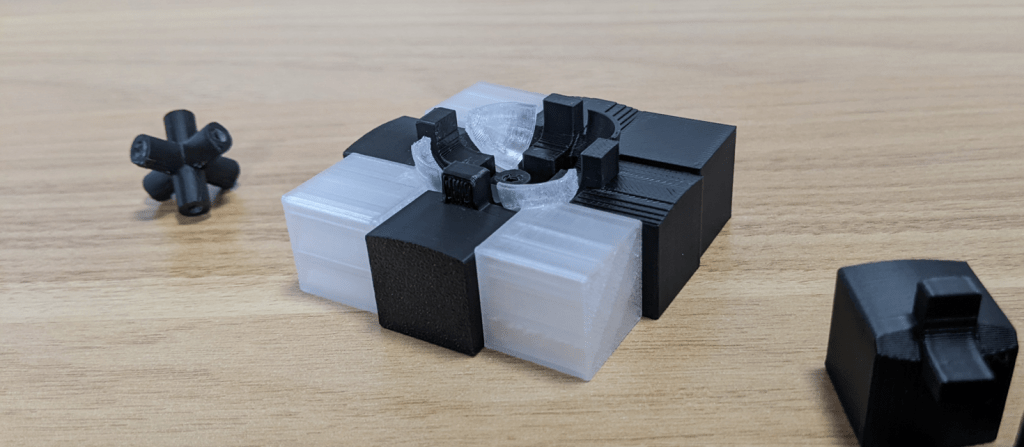
The new idea seemed to work. And after using Fusion 360 so much, his skills had improved. So he made quick progress on the 3rd version.

He built the first layer and the pieces fit neatly, with no sign of potential conflict. I commented, “This is neat and satisfying. This is the feeling engineers look for.” That gave him more confidence to print more pieces.
I also told him that if he thought about symmetry, he only needed to design three unique pieces. He didn’t need to model all of them. He was surprised—and I was surprised that he was surprised.
The deadline was approaching, and he wanted to work late. He seemed to enjoy the rushing-to-the-deadline feeling.
One more issue: he hadn’t ordered springs, and there wasn’t another week for new ones to arrive. So I relaxed the deadline, giving him three more days, so that the springs could arrive in Hangzhou, where he would be. He would get one shot to assemble everything there.
Additional improvement
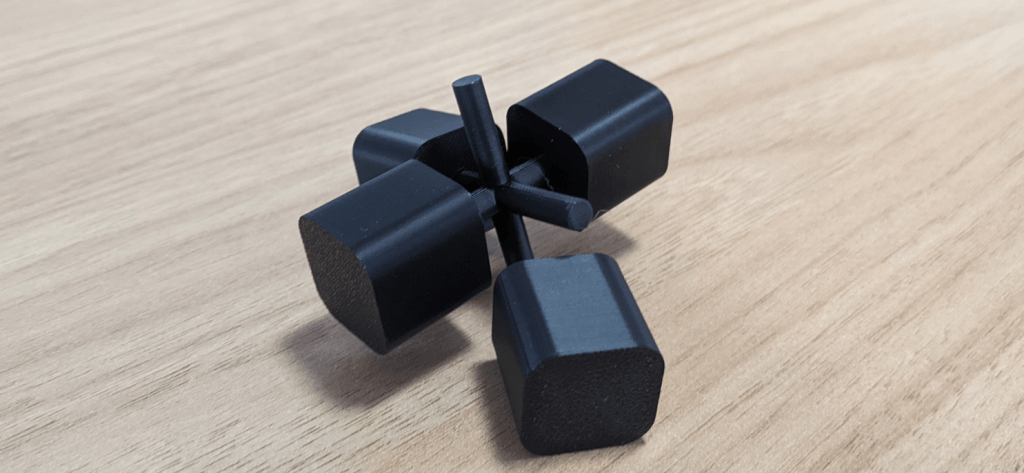
He prepared all the parts and spares and packed them into a box to bring to Hangzhou. He would fly there from Singapore on his own.
That morning, he proposed another improvement: to make the central structure stronger, he redesigned it as a sphere (because that piece had broken before, and he worried it would break again in Hangzhou. He wouldn’t have a 3D printer there.)
The improvement seemed to work.
Final Remark
So now I am sitting in our Singapore home writing this report, while he is on an airplane. I’m looking forward to seeing the final result from Hangzhou.

Leave a comment